Most people don’t realize how many pieces of information go into the creation of a digital photo. At the moment you take a shot, your camera is quietly assigning all sorts of interesting data points to your image. Data that in many ways determines the look and feel of that image, along with assigning descriptive metadata – the who, what, and where of your pictures. With the help of ImBatch, this information, also referred to as EXIF/IPTC tags, can be edited in bulk.

How to Set EXIF/IPTC Tags and Edit
Step-by-step
These days, cameras are smart. They’re able to do so much automatically without our having to think about it; they keep track of a lot of information behind-the-scenes. But as cool as modern digital cameras are they can’t do everything. If you want to add image details like creator, copyrights, keywords, and such, you need to do that yourself. This can become extremely time-consuming when editing one photo at a time. With the help of ImBatch you no longer need to! Capable of setting and editing EXIF/IPTC tags in batch, ImBatch saves you both time and headaches. Here’s how:
- Start by opening ImBatch - free batch EXIF editor.
-
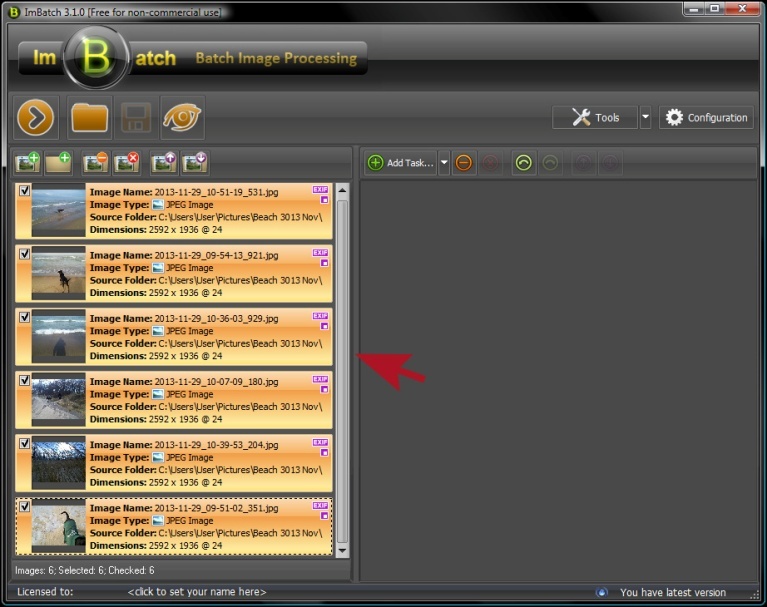
Next, choose the images that you plan to edit and add them to the project. You can do this by clicking the
 Add new images for processing button or by dragging and dropping images into the work space located on the left side of your ImBatch window.
 - Once all images are loaded into the work space, highlight all images to indicate that the tags you intend to set should be applied to all images. With the topmost image highlighted, hold down your Shift button. Next, with shift still held down, hover your mouse cursor over the bottom most image and left-click. This will highlight every image between the first and last.
- To set and/or edit your EXIF/IPTC tags, first click the
 Add Task button and select Tags from the dropdown menu. From here, select
  Set EXIF/IPTC Tag.
 - Here you will discover various options that let you modify and enhance the meta-characteristics of your image files.
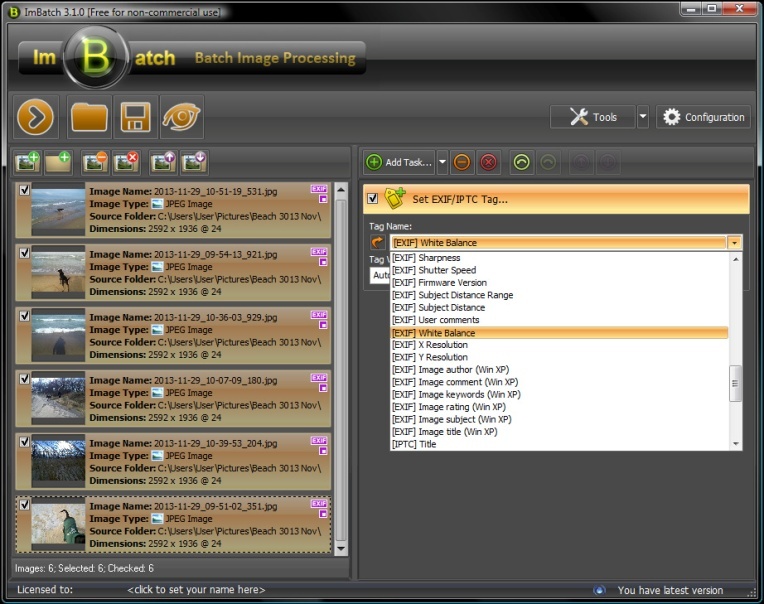
- Once you’ve selected a specific tag, a new field will open below it, asking you to assign a Tag Value. This is where you can tell ImBatch how you want to define the images in your project. For example, when you select [IPTC] Keywords, you would then below that list all the keywords (separated by commas) that you’d like applied to your images.
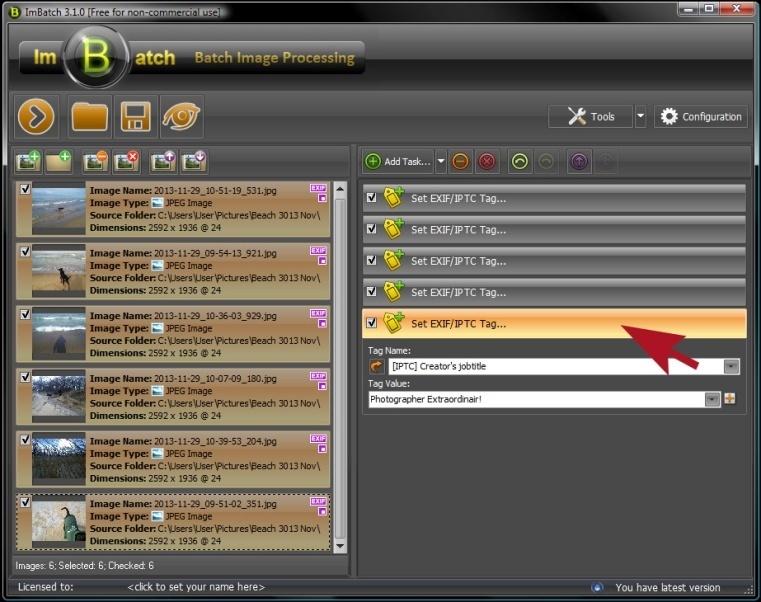
- Repeat step (4) as many times as necessary to define all project values.
- When you’re ready, decide whether you want to alter the original images or create copies of those images that reflect your changes. To create copies, return to the Add Task button and click on Save >
 Save As. Here you will find an assortment of customization options and image formats, allowing you to save your projects exactly as you see fit.
 -
After you’re finished, click the
![[>]](/images/imbatch/button_run.png) Run batch image processing icon located in the top left toolbar.
Run batch image processing icon located in the top left toolbar.
This way, you can use ImBatch as a batch EXIF editor. If you need to remove some EXIF/IPTC tags from your photos in bulk or completely clean those tags, refer to this how-to.