
By adding different tasks, users can accomplish a variety of actions that modify the look, feel and behavior of their image files. ImBatch lets you make changes to large groups of images in just a few quick clicks. For example, you have a folder full of images that each needs to be cropped. Instead of manually cropping each photo, let ImBatch do the work for you by getting rid of unwanted; extra background. Here's how:

How to Create and Apply the AutoCrop Task
Step-by-step
- First you will need to open ImBatch.
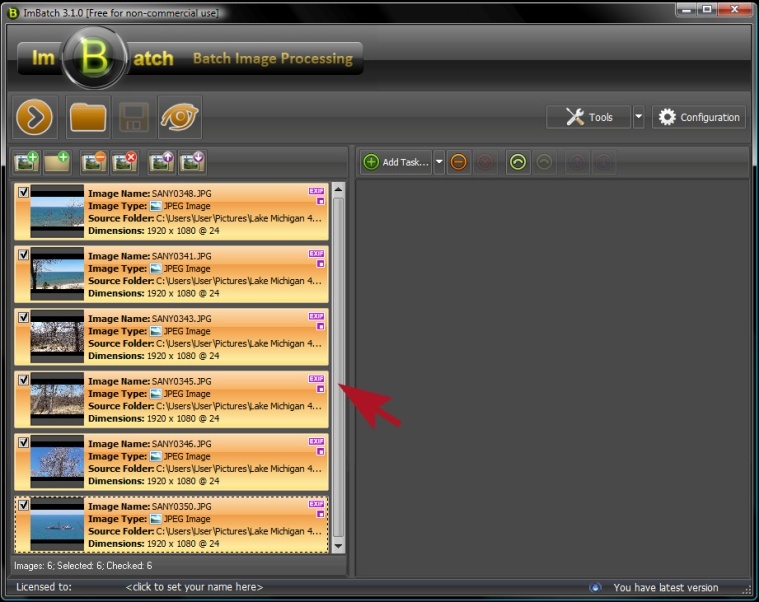
- Next, specify which images you plan to work with. You can do this by clicking the Add new images for processing button or by dragging and dropping images into the work space located on the left side of your ImBatch window.
- Once the images are loaded into the work space, highlight each of the images to indicate that you plan to crop all of them. With the topmost image highlighted, hold down your shift button. Next, with shift still held down, hover your mouse cursor over the bottom most image and left-click. This will highlight every image between the first and last.
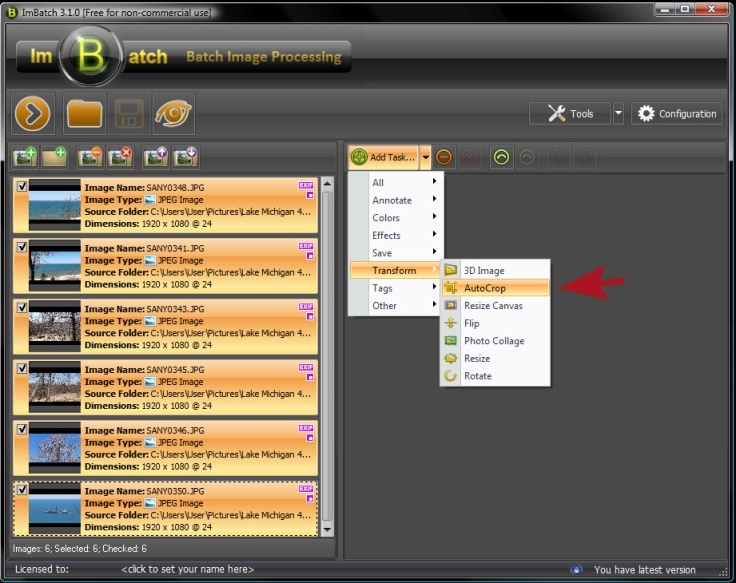
- Now you're ready to add a task. Click on the Add Task button. Select Transform from the menu and then select AutoCrop.
- Here you can choose Crop Type based on transparency or color. Choosing transparency will crop the image edges through transparency. Choosing color will create a crop that removes the indicated color.
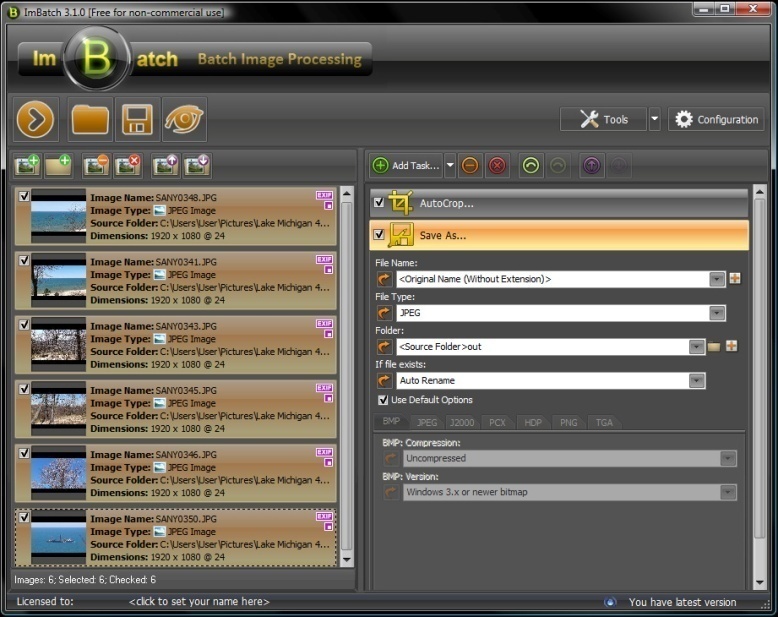
- Finally, determine whether you want to alter the originals or save a copy reflecting your changes. To save a copy of your newly edited images to a separate file, return to the Add Task button and click on Save > Save As. Here you will find an assortment of customization options and image formats allowing you to save your projects exactly as you see fit.
- When you're ready click the Run batch image processing icon located in the top left toolbar.