ImBatch lets users add new, remove, and rename EXIF/IPTC metadata with the help of the built-in EXIF/IPTC Editor. Whether you know it or not, every time you take a picture with your digital camera, lots of data is added to your image behind the scenes; information that keeps track of things like brightness and contrast; date and time. Because these details are added automatically, photographers often have no control over how the information will appear until after the fact. As a result, itŌĆÖs sometimes necessary to go back and edit certain elements found in the EXIF/IPTC text fields in order to better reflect whatŌĆÖs happening with the image. ImBatch can help you accomplish this quickly and easily. HereŌĆÖs how:

How to Edit EXIF/IPTC Tags
Step-by-step
- To start, launch ImBatch.
-
Next, load the images that you plan to work with. You can do this by clicking the
 Add new images for processing button or by dragging and dropping images into the work space located on the left side of your ImBatch window.
 - Once all images are loaded into the work space, highlight the image whose tags you plan to edit.

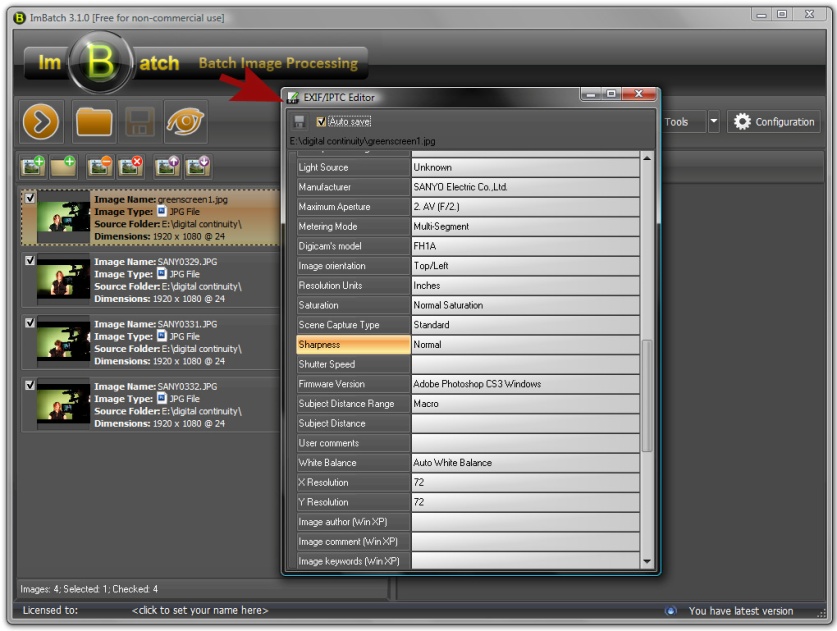
- In order to edit EXIF/IPTC tags, click on the
 ┬ĀTools button, followed by
  ┬ĀEXIF/IPTC Editor. This will open the EXIF/IPTC Editor window where you can get a better look at what tags are currently applied to the image.
- Double-click the text field that appears to the right of each detail to activate that field thereby causing it to become editable.
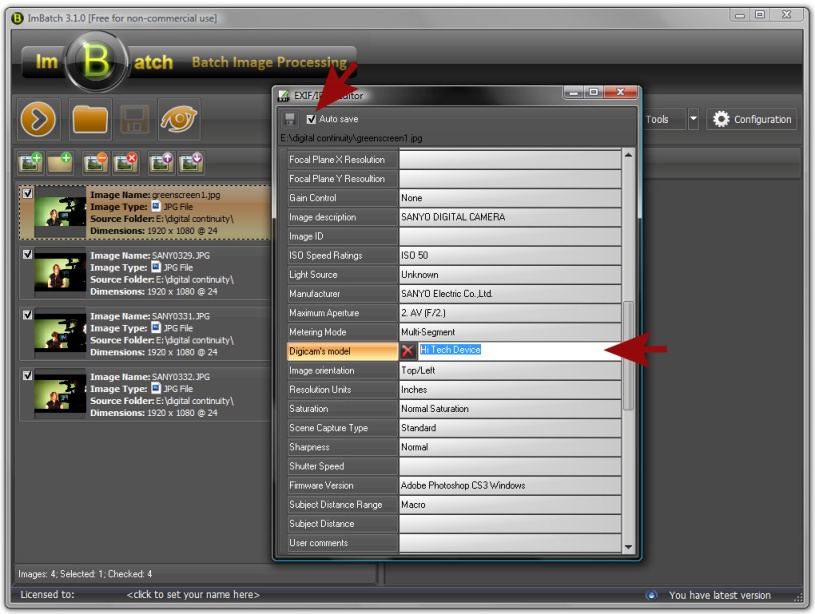
- Next, replace the current information with whatever description youŌĆÖd like to put there instead and hit Enter on your keyboard. Repeat this for all the different fields that you choose to change. Make sure that the Auto save box in the top-left corner is checked, and close the EXIF/IPTC Editor window. Your changes will now be applied to your image.