If you’ve ever found yourself needing to apply changes to hundreds of photos but had to edit each one individually, then you know how time consuming that can be. ImBatch solves that issue through its unique task structure. Because digital cameras these days automatically assign EXIF data, most programs that allow you to edit and view images are aware of how to display those images. Sometimes though, the images do not display correctly and rotating them so that they do appear as they should is one of the ways that ImBatch can help!

How to Rotate Using EXIF Orientation Tag
Step-by-step
You have a bunch of images that all need to be rotated in a certain way. You can accomplish this with the help of ImBatch. By taking note of the image orientation; for example “top-left”. You can tell ImBatch to reposition the image so that top-left becomes something else such as “top-right”. This will effectively rotate and reorient your images. Here’s how:
- Begin by launching ImBatch.
-
Next, specify which images you plan to work with. You can do this by clicking the
 Add new images for processing button or by dragging and dropping images into the work space located on the left side of your ImBatch window.
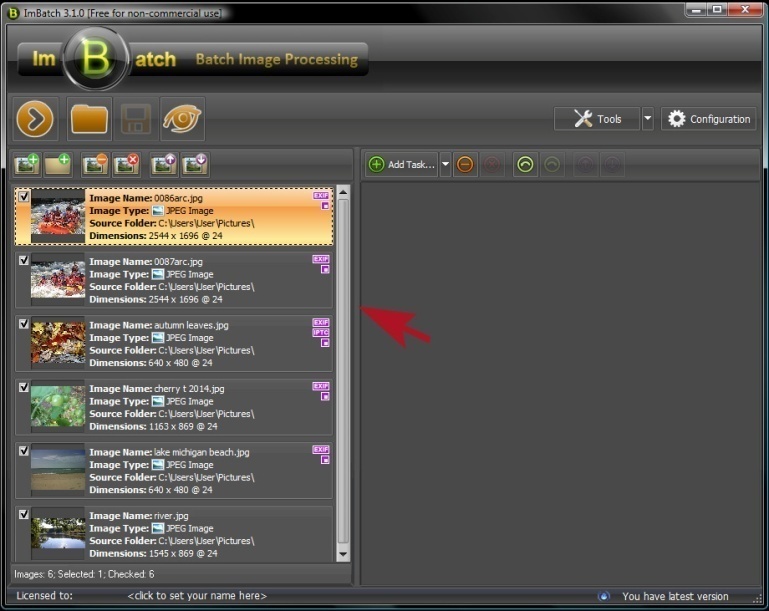
- Once all your images are loaded into the work space, highlight all of the images to indicate that the effect you plan to use will be applied to all. With the topmost image highlighted, hold down your shift button. Next, with shift still held down, hover your mouse cursor over the bottom most image and left-click. This will highlight every image between the first and last.
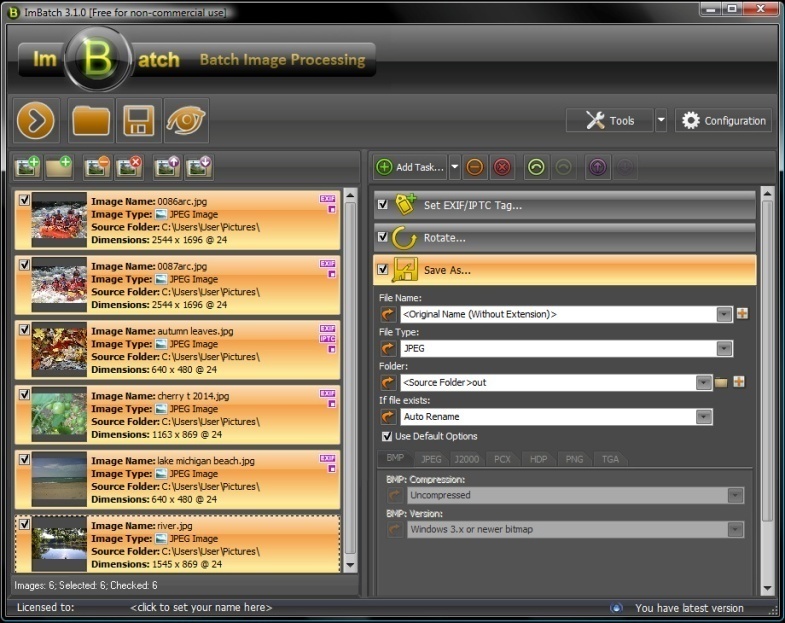
- Next, return to the
 Add Task button, and this time from the drop down menu select Transform, followed by
  Rotate.
 - Finally, determine whether you want to alter the originals or save a copy reflecting your changes. To save a copy of your newly edited images to a separate file, return to the Add Task button and click on Save >
 Save As. Here you will find an assortment of customization options and image formats allowing you to save your projects exactly as you see fit.
-
When you’re ready click the
![[>]](/images/imbatch/button_run.png) Run batch image processing icon located in the top left toolbar.
Run batch image processing icon located in the top left toolbar.
Read more How-To's about batch image processing tasks.